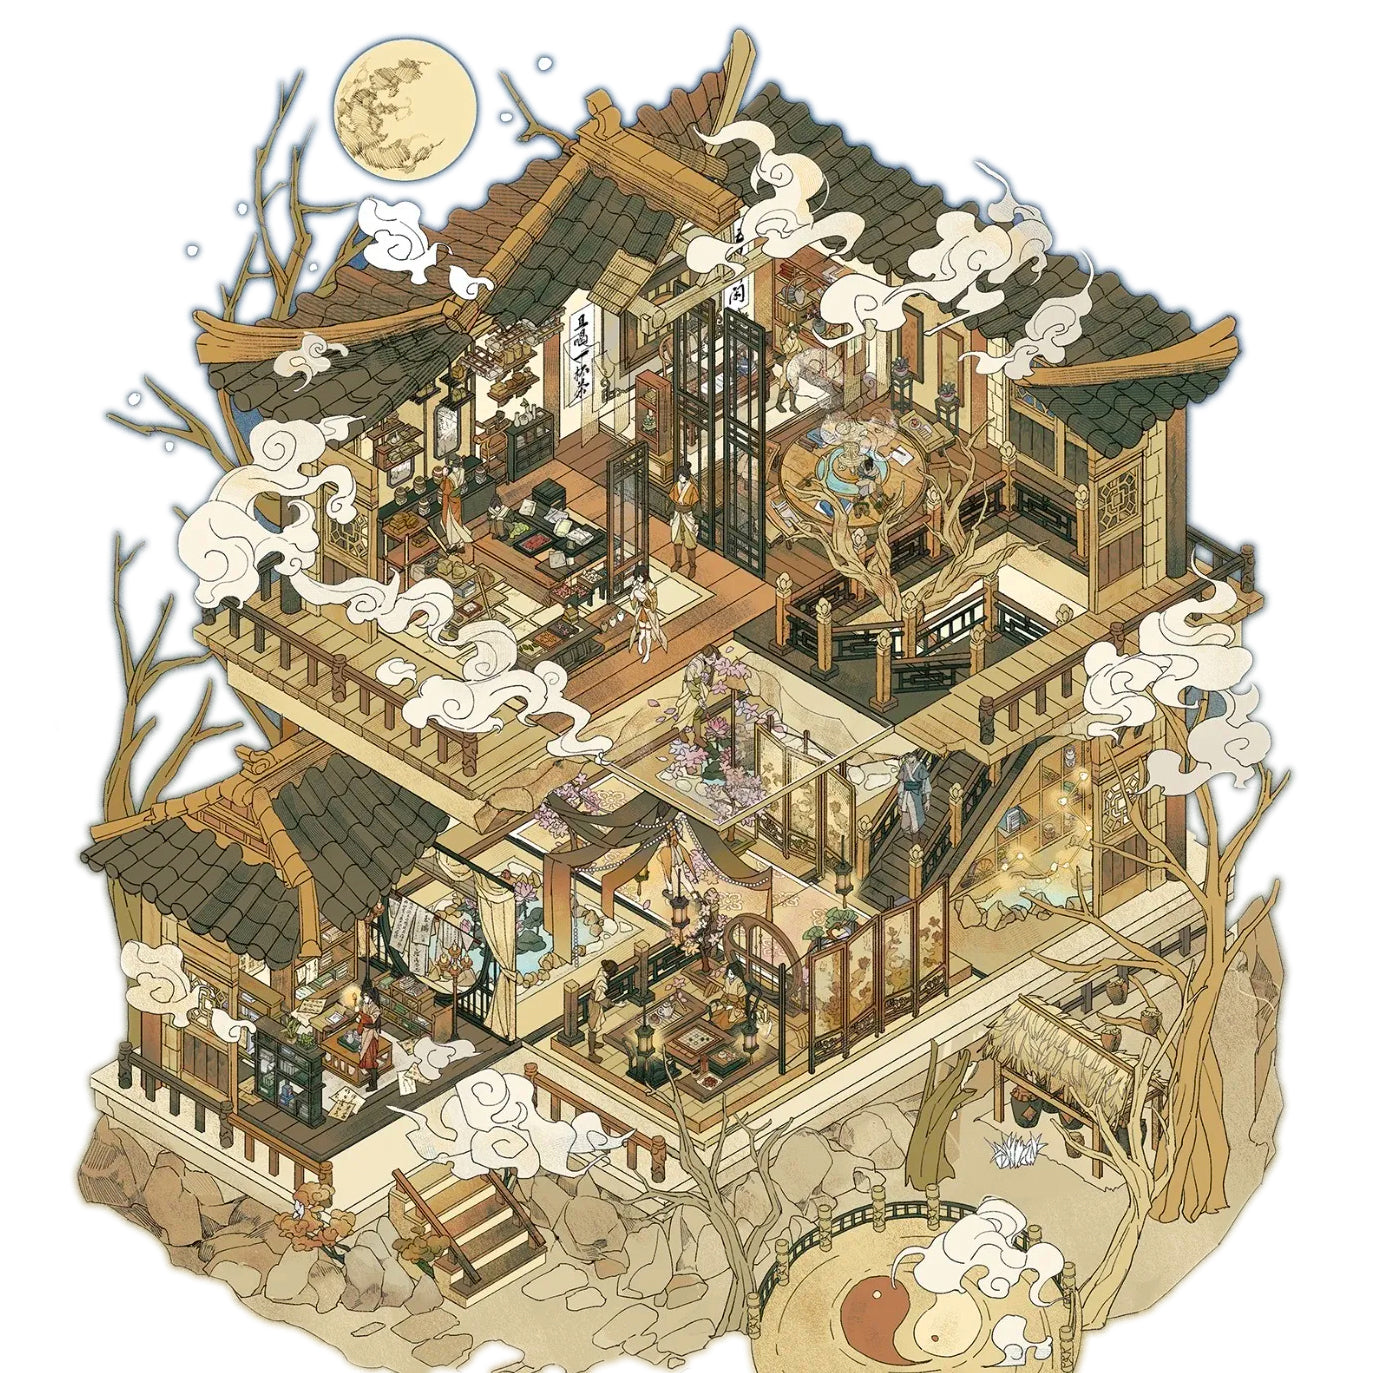
Hey there, crafters and creators! Ever scrolled through Instagram or TikTok and seen those incredibly cute, detailed miniature worlds tucked inside a journal or on a desk? You know, those little scenes with cozy rooms, magical forests, or bustling street corners that look like they popped right out of a storybook?
Those amazing creations are often made with sticker scenes! If you've ever wondered how to start, you've come to the right place. This guide is your first step into the relaxing and rewarding hobby of creating your own tiny universes. Let's dive in!

What's in the Box?
When you open up a pack of miniature scene stickers from QuboCraft, here's what you'll typically find:
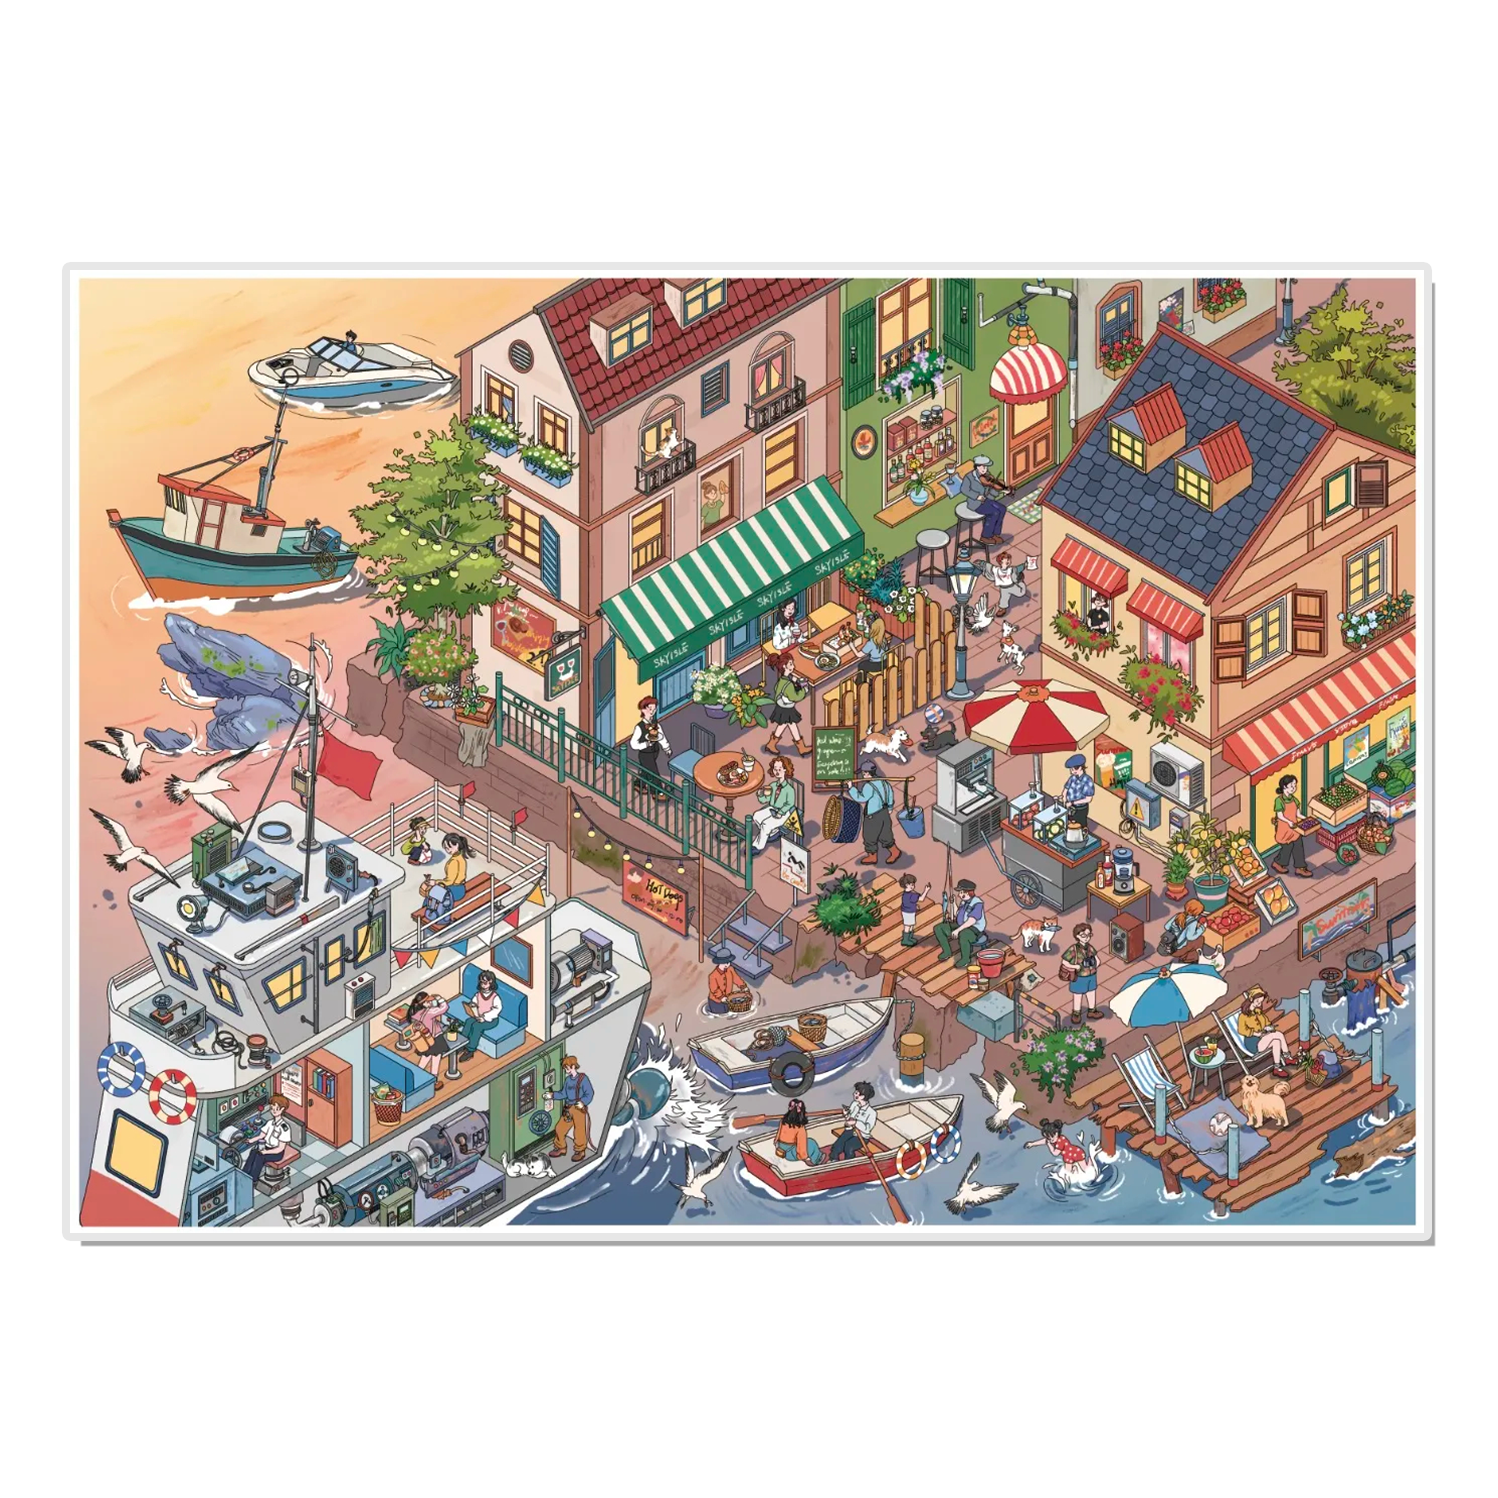
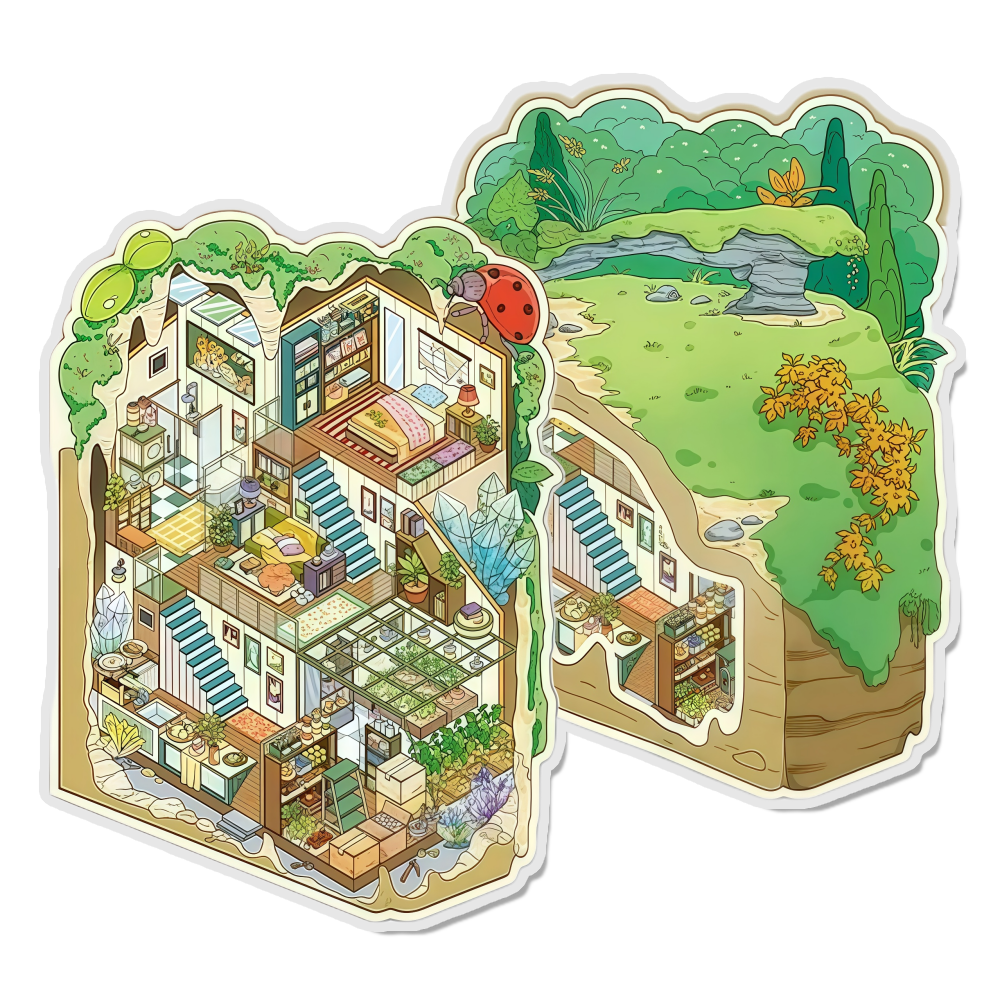
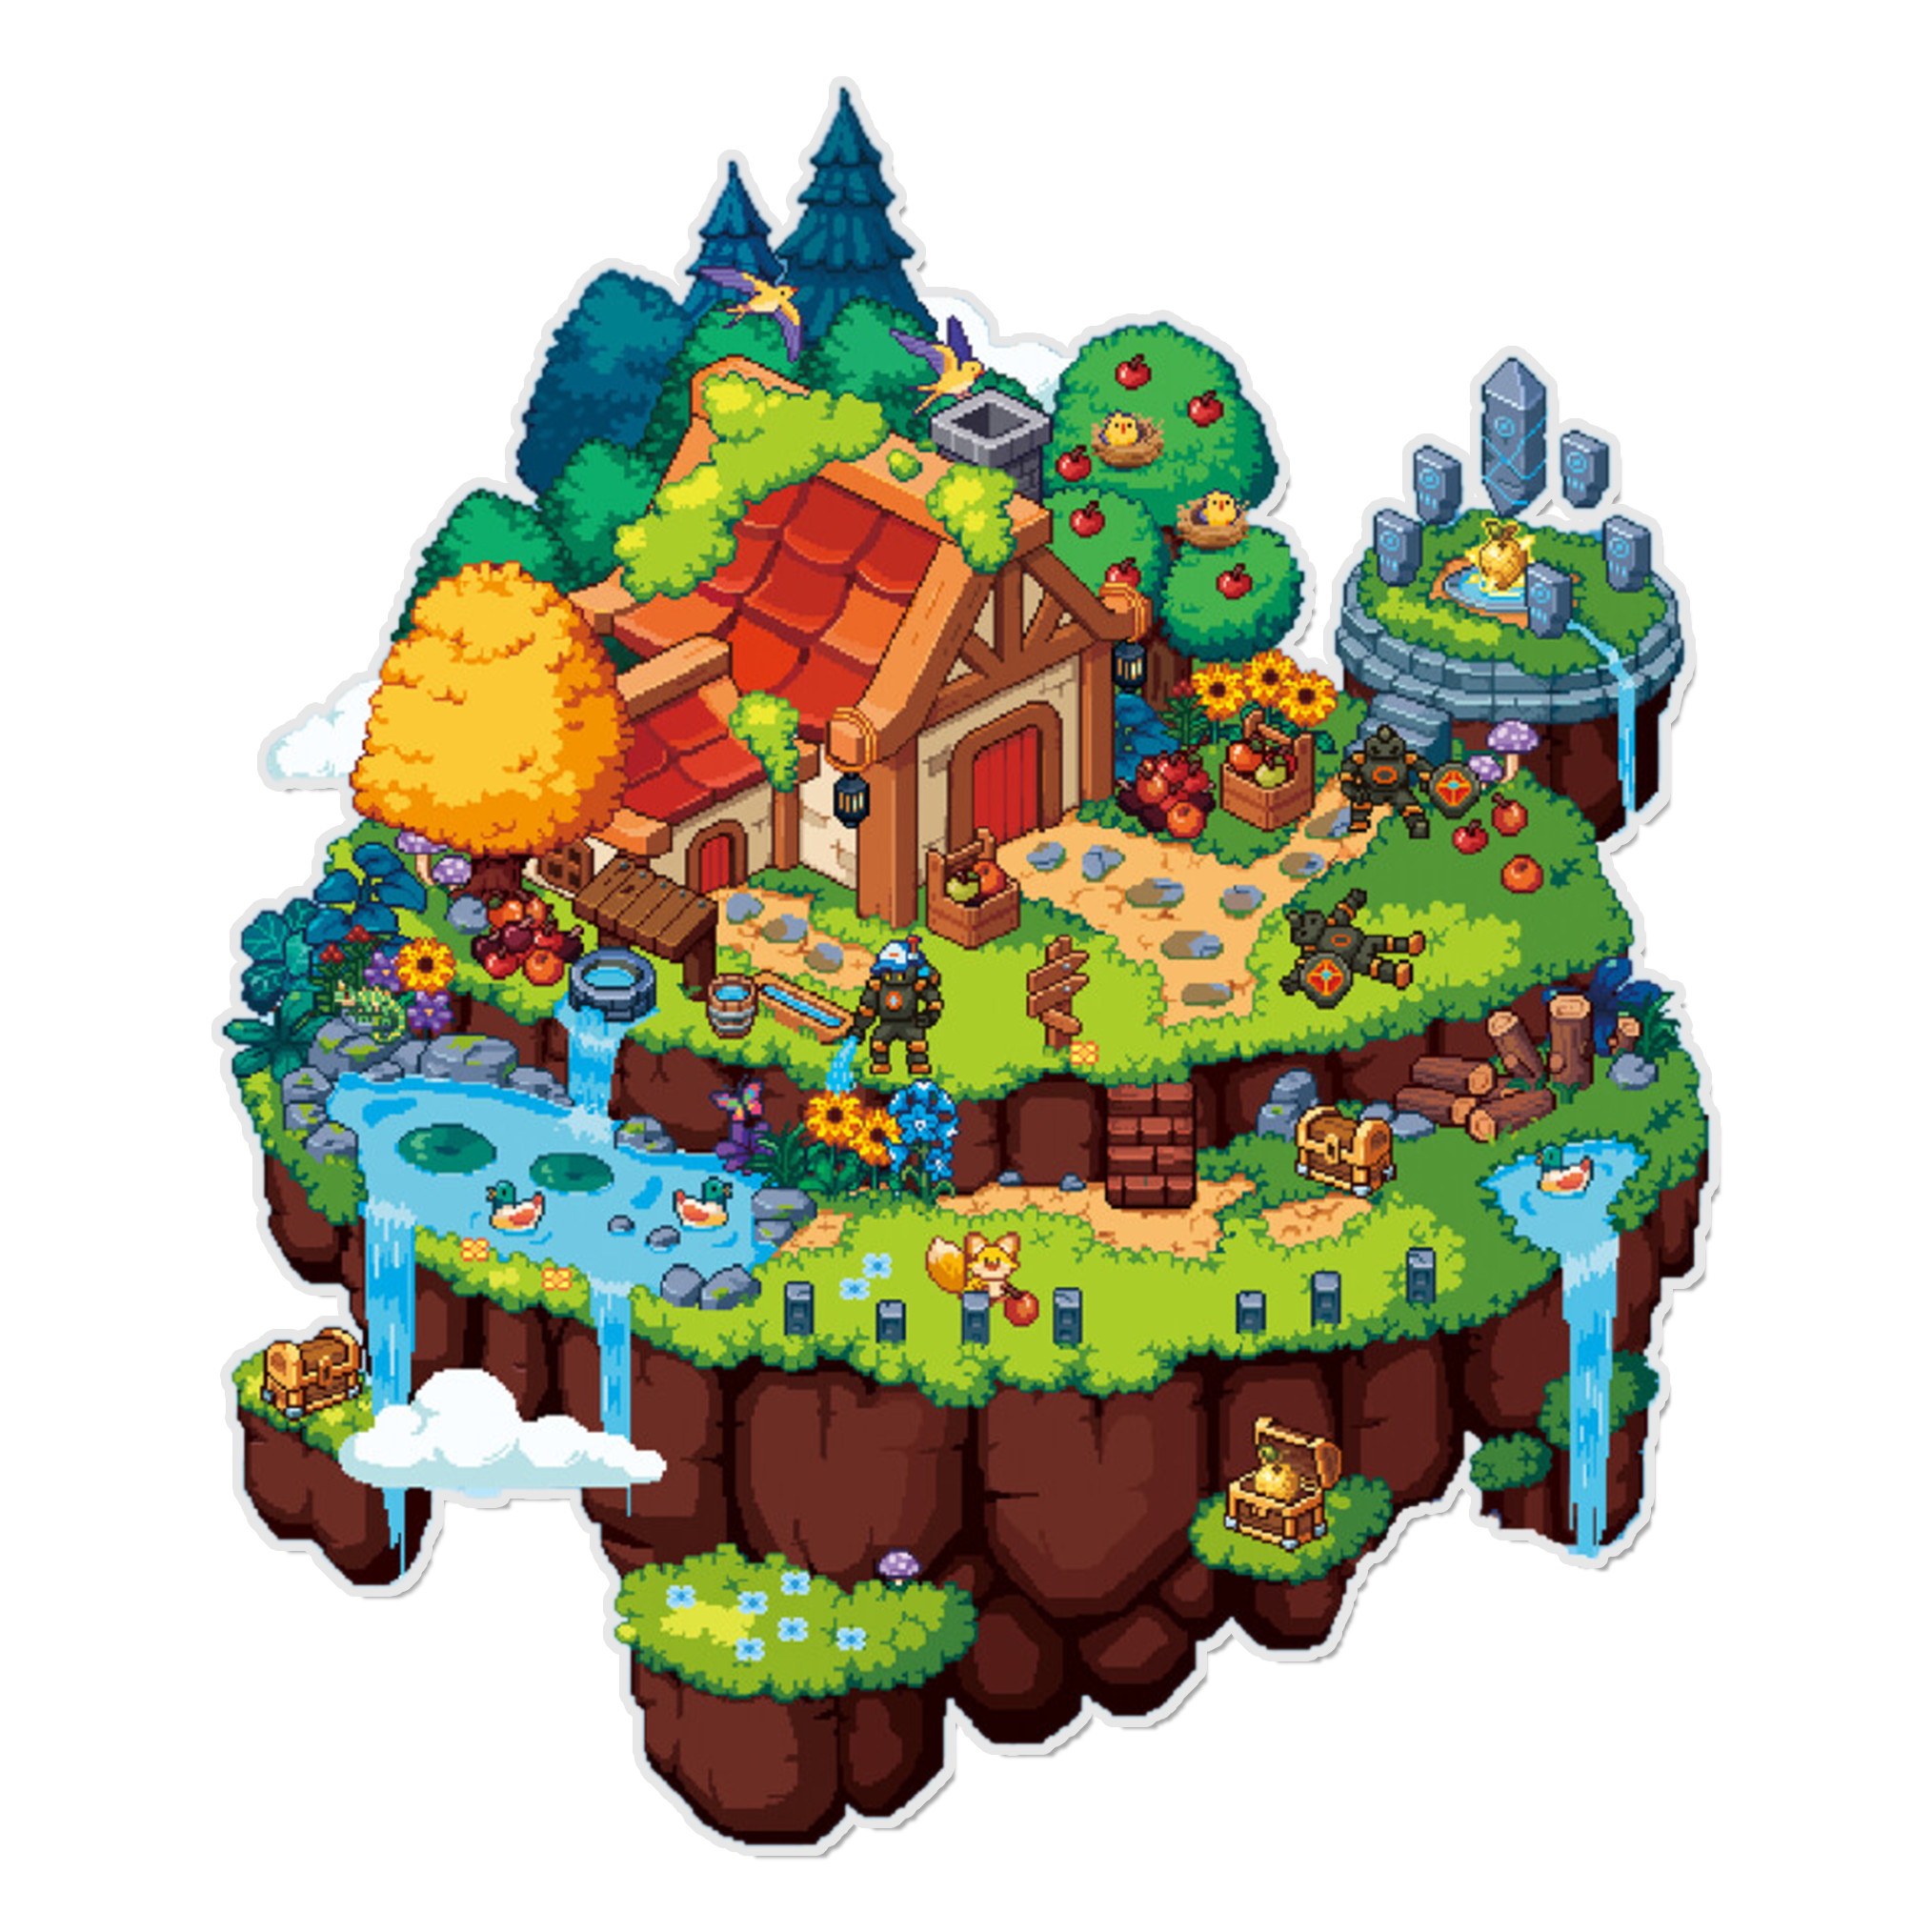
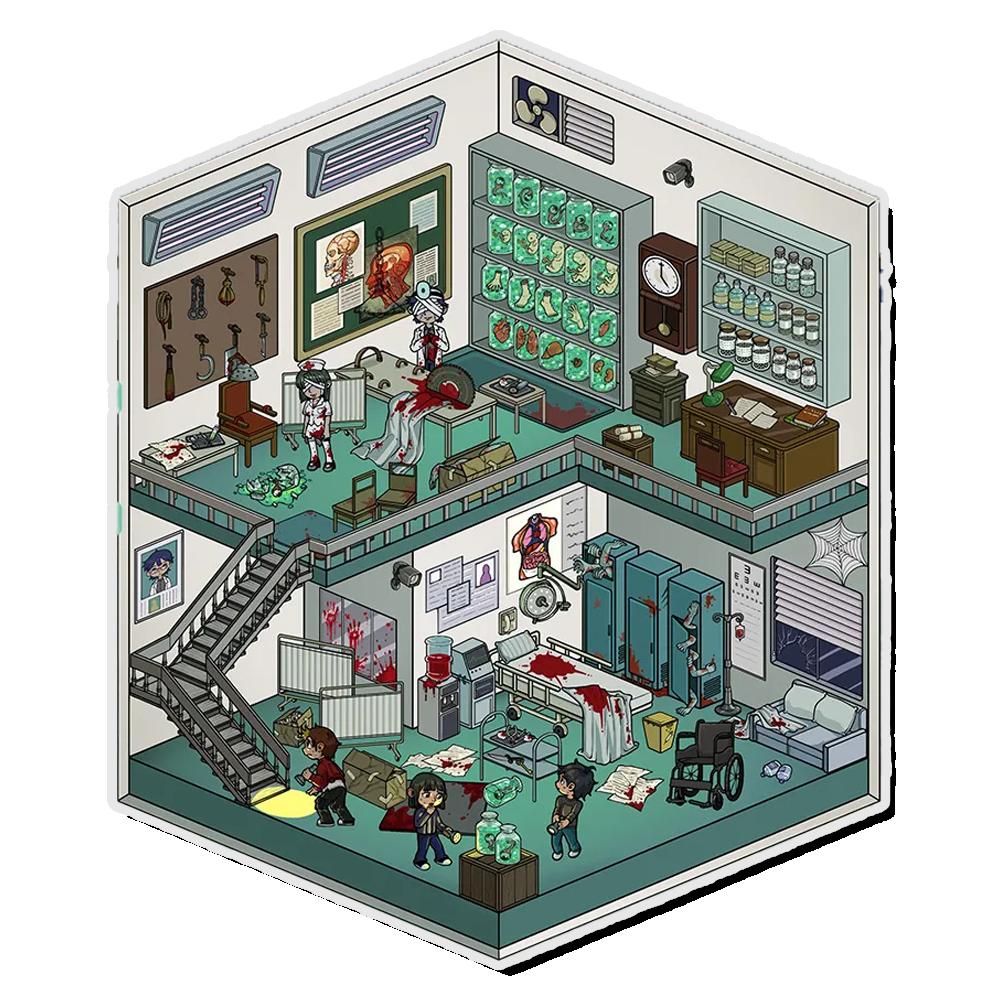
•A Base Card : This is your stage, your blank canvas. It's often a beautifully illustrated background, like a sunlit room or a serene landscape.
•Pre-cut Sticker Sheets : These sheets are filled with all the elements you need: furniture, plants, people, books, you name it! They are precisely pre-cut, so you just need to gently pop them out.
•Effect Cards : This is the secret sauce for 3D stick cozy room magic! These transparent sheets have patterns like window light rays, raindrops, or sparkles. Layering them over your scene adds incredible depth and atmosphere.
•Helper Stickers : Sometimes you get free tweezers or little extra stickers to add even more detail and personality to your creation.

Your Step-by-Step Guide
Creating your first deco scene sticker masterpiece is easy and fun. Just follow these simple steps:
1.Plan Your Layout : Before you peel anything, lay out all your pre-cut elements on the base card. Play with the arrangement! Tell a story. Where should the couch go? Does the little plant look better on the table or by the window?
2.Start from the Back : Begin applying stickers that are supposed to be in the background first. This creates a sense of perspective and makes your scene look more realistic.
3.Layer It Up : Add your middle-ground and foreground elements. This is where the 3D effect really starts to shine!
4.Add the Magic : Carefully place your effect cards. See how the light rays change the whole mood of your sticker room? It’s incredible!
5.Finishing Touches : Use any helper stickers to add those final, tiny details. And you're done!

Why You'll Love This Hobby
Making scenery stickers isn't just about creating pretty art; it's a fantastic way to unwind after a long day. It’s a form of mindfulness that lets your focus on the simple, joyful act of creation. The best part? You end up with a beautiful piece of art that you can display proudly, give as a unique gift, or even use to decorate your planner or laptop!
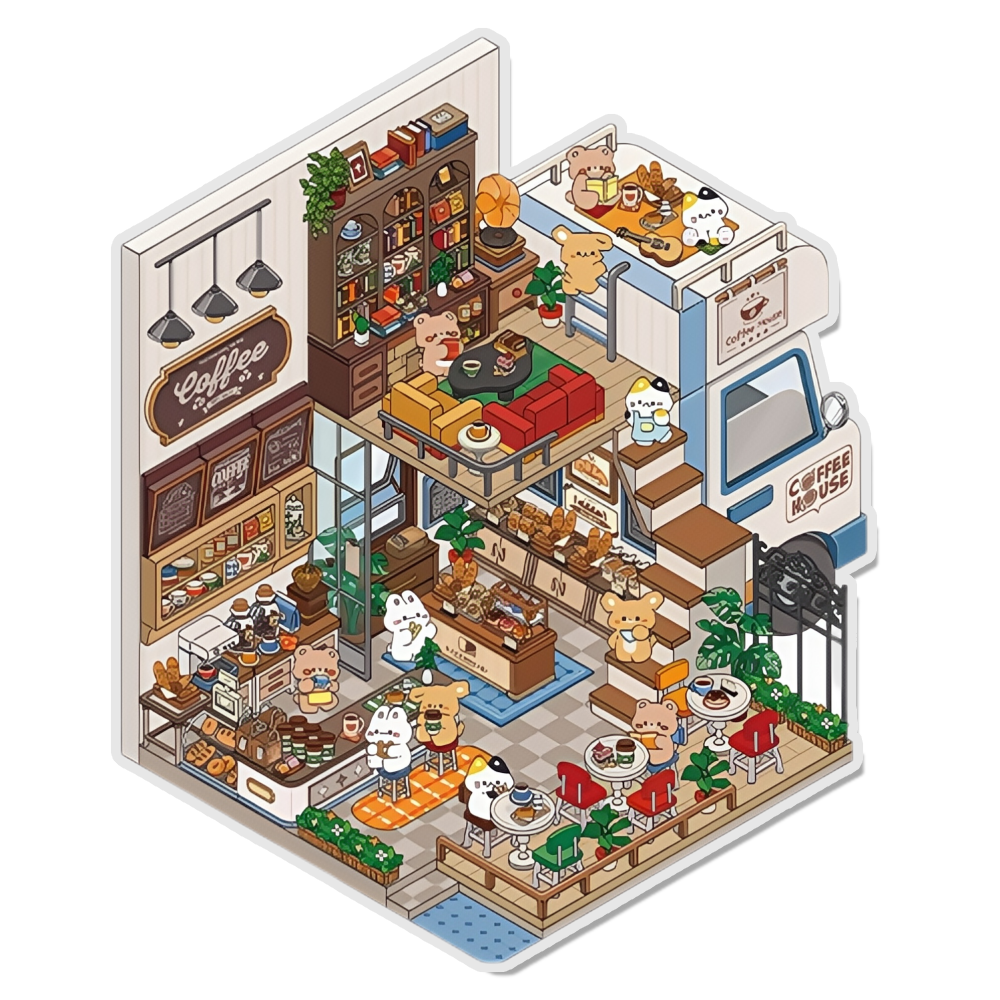
Ready to start your journey? Explore our collection of isometric scene stickers and sticker scene kits at QuboCraft's Shop. We have themes for everyone, from dreamy libraries to adorable pet cafes. Share your first creation with us on social media by tagging @qubocraft – we love seeing your miniature masterpieces!
Happy Creating!
What's the best way to play with scene stickers?
Create Mini Worlds: What is Scene Sticker?